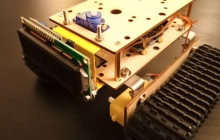
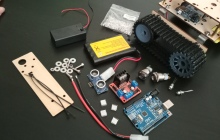
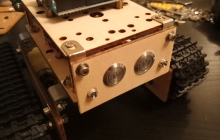
We are currently sat watching NASA launch the Mars 2020 mission which includes the Perseverance Rover and the Ingenuity Helicopter. It seemed like the right time to write about our latest robot; A.R.T.I. 1.
Now obviously our robot systems are no-where near the same level of complexity that the NASA rovers are, but then ours are meant for home education at the moment and of course a lot of fun for me especially (bit of a robot fan).
A.R.T.I 1 is the latest in a line of robots built by us, that has thus far enabled me to teach my children about a lot of engineering principles in different stages. So different robots have focused on different elements of learning, from autonomy, dialogue, movement, and speech algorithms, as well as understanding different components; so everything from resistors, capacitors and diodes, to servos, motors, switches, microcontrollers, LCD displays and a multitude of sensors to name just a few.
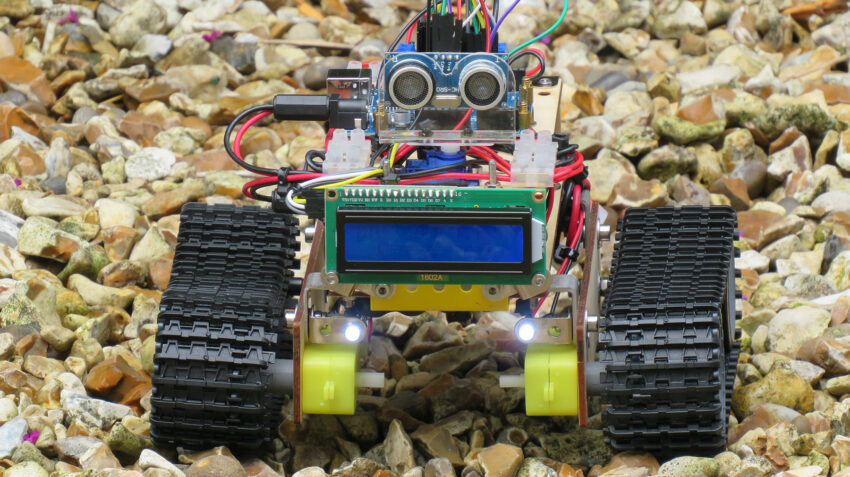
We built this robot to match a friend who built a similar bot and wrote about it in Hackspace Magazine; a robot that he called MTV, or a Modular Tracked Vehicle. Ours is not a faithful copy and so we gave it a longer official name of MTV variant A.R.T.I 1. Our version of his MTV (which we loved).
EDIT: This name was later changed to ‘Aerona’.
So A.R.T.I 1 is using two Arduino Uno boards to run code.
• The first arduino is in the middle of the robot. Powered by a 9v PP3 battery and switched at the back. Turning this board on controls the 16×2 LCD screen (which displays the name of the robot at the moment), and the four LEDs that act as head lights and tail lights.
• The second arduino is performing the obstacle avoidance functions. The arduino takes ‘distance readings’ from an ultrasonic sensor mounted on an SG90 servo. It then sends a drive signal to the L298n Dual H Bridge motor shield, which powers the motors on the robot via a 9.6v Ni-MH battery slung underneath the chassis.
So the 9.6v battery powers the motor driver, which powers the motors, but it will not move until it gets an instruction from the arduino, which is reading from the sensor. The motor shield powered by the 9.6v battery has a regulated 5v power output, which is then used to power the same arduino that is giving it drive signals via a second switch on the back.
The effect is that the motor shield can be plugged into the battery, and nothing will happen yet as we didn’t want the robot just setting off. You can then turn on the LCD and head lights/tail lights with one switch and the second switch will then allow power from the already powered L298n motor shield, to be directed to the arduino/servo/ultrasonic sensor running the obstacle avoidance program.
It should then set off and run its commands.
Setting off will see it drive forward until it senses an obstacle. Once it does, it will stop and immediately reverse slightly. It will then turn the servo and thus read distance left and right and try to work out the path of least resistance. It will then turn around on the spot and head off in another direction.
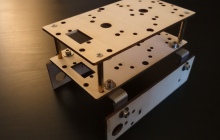
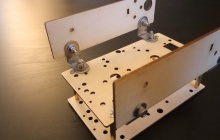
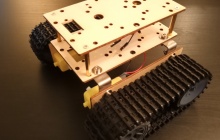
The robot chassis we ordered this time is laser cut ply wood and runs on tracks. There was much less room than we’d hoped on the chassis and it took quite a bit of fiddly engineering to make everything fit just as we needed it.
We did have plans to add further functionality onto this robot, but we have decided to wait given the space restrictions. We could of course use much smaller microcontrollers given the small amount of code we used. We have another chassis (likely to be A.R.T.I 2), that we may choose to do this on.
The plan is to make one of these bots house a carbon monoxide detector, so that it starts to have a use. A robot that can navigate into a room, test for noxious gas, and then exit the room on its own, is orders of magnitude more useful. Of course in the real world, something like this would be controlled by a human, however we’re enjoying making them autonomous at the moment. RC is something I have a lot of experience with anyway.
As I finish writing this, Mars 2020 is on its way. We are just waiting for signal acquisition from the spacecraft as it sets off on its seven month journey to my favourite planet.
Emma
Stats:
Name: A.R.T.I 1 (MTV variant A.R.T.I 1)
Utility: Education
Purpose: Home Education
Weight (chassis): 405g
Weight (total): 880g
Single Track Width: 4.5cm
Whole Track Width: 21cm
Motor Reduction Ratio: 48:1
Microcontrollers: 2 x Arduino Uno
Motor Driver: 1 x L298n Dual H Bridge
LCD: 16×2 I2C
Servo: 1 x SG90
Sensor: 1 x HC-SR04 Ultrasonic
Switches: 2 x 12v anti-vandal switches in chrome.
LEDs: 4 x in parallel (100ohm resistors)
Power, Board 1: 9v PP3
Power, Board 2: 5v regulated
Power Motor Driver: 9.6v Ni-MH 800mAh
You can find more information at Bailey Robotics

