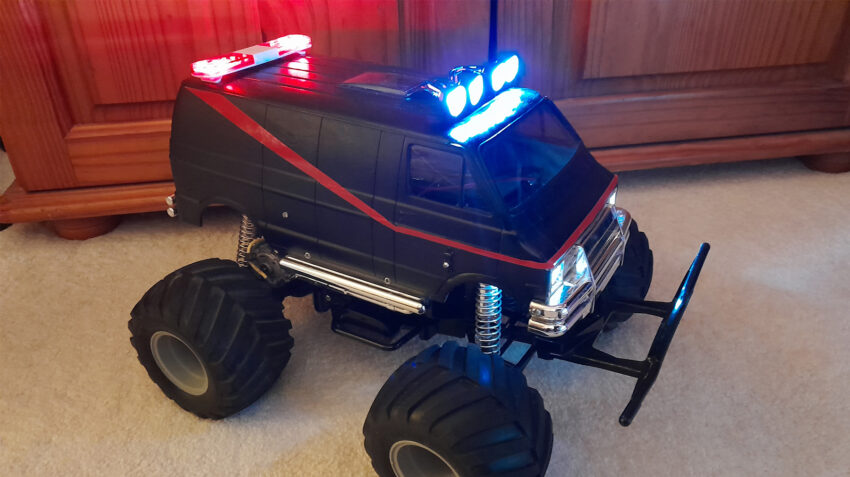
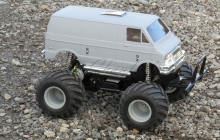
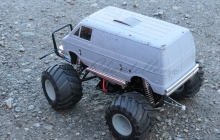
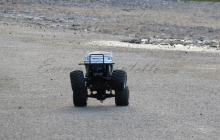
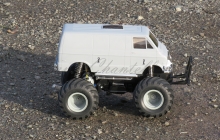
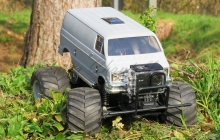
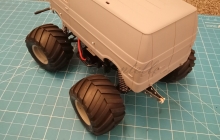
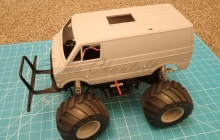
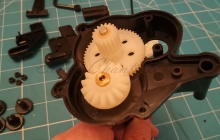
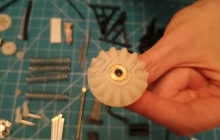
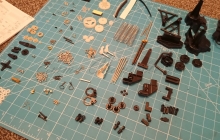
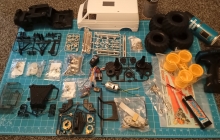
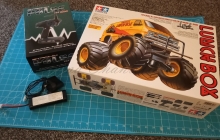
So, sometime many months ago, we purchased a Tamiya Lunchbox. It’s primarily for Jacob, because he’s ‘not so much’ into the flying, robotics or teapot racing, as we are. I wanted him to have something fun, fast and durable to mess about with in remote parts of North Wales.
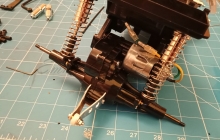
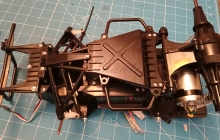
The Tamiya Lunchbox is an RC legend. It stems from way back in 1987, and was always something that looked like a lot of fun when I was a kid. We could never afford one when I was younger, so I wanted to make sure he had the chance to have access to one. Not just for blasting around and pulling wheelies (which they are great for), but to learn about radio control, suspension, gearboxes, motors, and electronics. I try to make everything a teaching/learning opportunity.
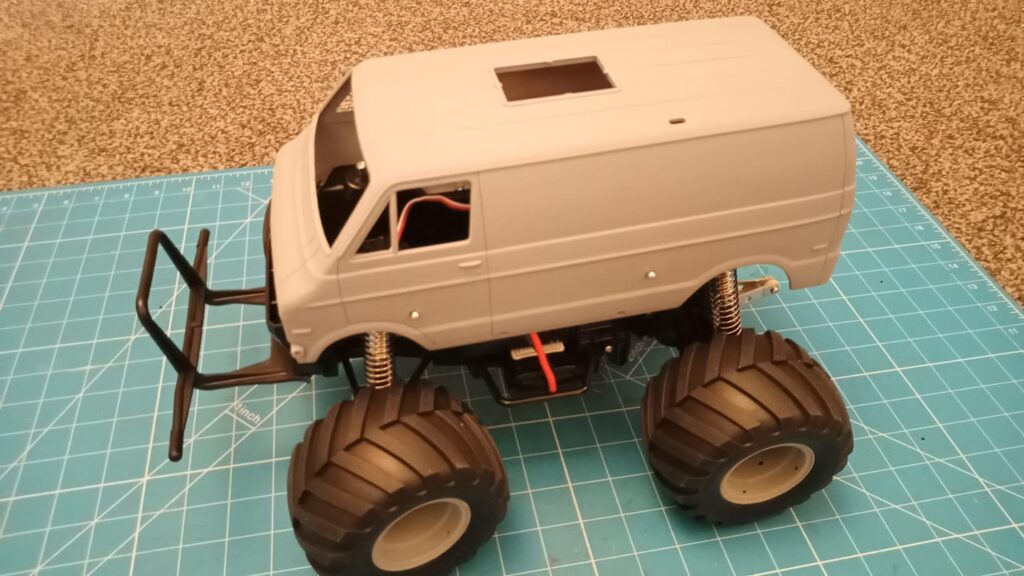
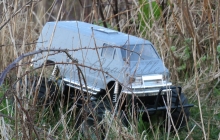
So, we built the car, put a layer of primer on the shell, and left it like that for ages. Jacob enjoyed it out in the wild; he rolled it, flipped it, piled it through mud and water, and scratched the shell completely. He even tripped up over it while chasing it at full speed.
Exactly what it’s meant for.
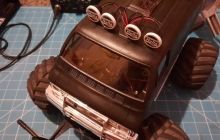
Then, he saw the lights we have been fitting to our teapots, and wanted something similar on his RC truck. Further down the line, he does want to have a couple of shells on his wall that he can change over (like The Mystery Machine, a Royal Mail van, and an RAC van etc), but for this one he decided on the A-Team GMC van.
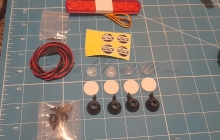
So to start with, we bought some lights.
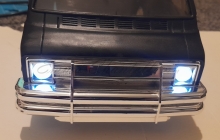
The front lights on the existing shell already allowed for LEDs to be mounted, so we dug through our LED bin, and found two ice white 5 mm LEDs to be hot glued in. We soldered on some resistors, and connected them to the rest of the lights as we attached them.
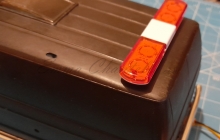
The other lights we needed to order. The four spotlights were easy to fit, with four little holes, and one larger hole through the shell for the wiring. The rear flashing lights are an online offering that come in many colour combinations, and the red set of lights were a perfect choice to replace the usual A-Team spoiler, but with flashing lights instead. All the lights are powered from the receiver, with the red rear lights flashing patterns able to be changed from the controller.
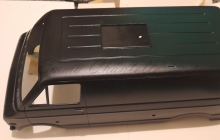
So the lights were all installed, and then the shell needed to go black. We didn’t have much paint available, so it ended up being painted in matt black stove paint. That being said, it looks good. The finish could have been better, but I have never really considered myself a painter, and it’s going to be damaged over time as it’s used, anyway.
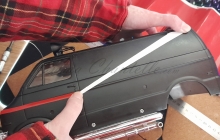
The lights were taken off, and refit after the painting, and it looked great overall, but it was still missing one important element. The classic A-Team red stripe. Now we cheated slightly (sort of), as the van in the original series of the A-Team, was both black and grey, and the red line split the two colours, but the van in the A-Team film was all black.
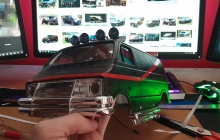
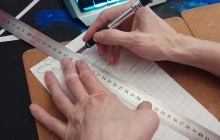
We pulled up some images from a Google search, and then tried to do our best to match the lines on the A-Team van. Luckily, we had the foresight to put the top rear light right where we wanted it earlier on. We took some old, badly treated and folded vinyl, and tried to give it a new life on this van. So we mapped out a small template with paper, and then drew it onto the back of our vinyl.
We cut the vinyl out with my Danger Pen (the name I gave to my craft knife/scalpel, because it keeps biting me), and attached it to the van. It’s not perfect, but it looks remarkably similar, and with the lights on, it looks spectacular. Driving it around the house at night was fun, and the lights were causing the CCTV to switch from night vision, back to day, it was that bright.
It’s lots of fun, and now it raises a smile every time we see it. It will of course be ragged about and damaged as time goes on, but that’s okay. We don’t build things to sit on display.
This blog will be here to remember the build.
Emma.

